


PowerPoint presentations can be a game-changer for conveying ideas visually. However, the more intricate your slides become, the harder it gets to keep those elements neatly organized. If you’ve felt the frustration of trying to select overlapping text boxes, images, or shapes, you’re not alone. This is where PowerPoint’s Selection Pane steps in to save your day.
The Selection Pane is an often overlooked yet incredibly powerful tool that simplifies juggling multiple objects on a slide. With its help, even the busiest of slides can be managed effortlessly. Whether you’re a seasoned PowerPoint designer or a corporate professional creating a client pitch, learning to master this tool can transform how you approach presentation design.
At PitchWorx, we’ve perfected the art of crafting impactful PowerPoint decks. Today, we’ll guide you through the benefits and functionality of the Selection Pane, along with expert tips to make your slides truly stand out.
What is the Selection Pane?
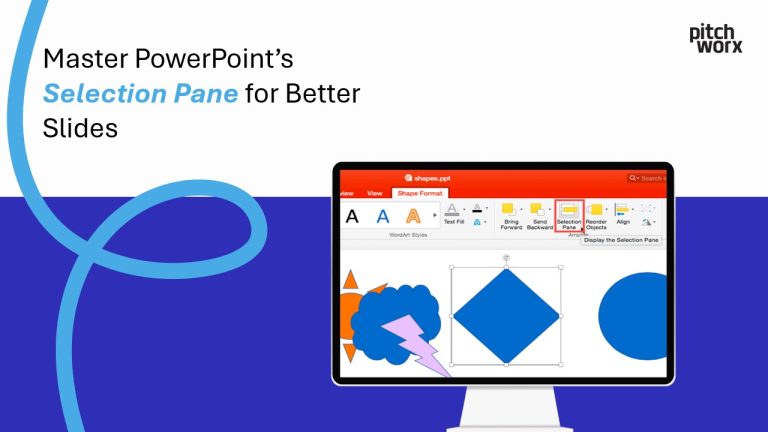
PowerPoint’s Selection Pane is designed to help you manage all objects on a slide. Think of it as a control center that houses every text box, shape, and image layered on your canvas. Located under the Arrange Group in the Home tab or accessible via the Format tab, it’s a lifesaver for anyone dealing with content-heavy slides.
Once opened, the pane displays a list of every visible (or hidden) object on your slide. Through this list, you can rename items, rearrange their layering, or hide/unhide them as needed.
Why Use the Selection Pane?
Every PowerPoint user has struggled with overlapping objects or accidentally de-selecting an item after meticulously resizing it. Here’s why the Selection Pane is an essential tool for maintaining sanity when designing slides:
1. Enhanced Organization
The Selection Pane ensures that every element on your slide is neatly cataloged. This makes it much easier to group related items or find specific objects during edits—especially when you’re working with multiple layers.
2. Streamlined Editing
Navigating crowded slides can be tedious. With the Selection Pane, you can quickly select individual or grouped objects without manually clicking. This speeds up the editing process and reduces errors.
3. Better Collaboration
When multiple people work on the same presentation, clear organization is crucial. Using the Selection Pane to rename objects offers context to collaborators, ensuring everyone stays on the same page.
4. Simplified Layer Management
Whether arranging overlapping visuals or managing animations, the Selection Pane helps you control the layer order of your objects. This ensures a polished, professional look for your final presentation.
No matter your role—designer, presenter, or marketer—the Selection Pane equips you with a level of control that’s invaluable for efficient workflow.
How to Access and Use the Selection Pane
Now that you know why it’s a must-have tool, here are step-by-step instructions to start using the Selection Pane like a pro:
Step 1: Open the Selection Pane
To enable the Selection Pane:
- Go to the Home tab and click on Arrange, then select Selection Pane from the dropdown menu.
- Alternatively, go to the Format tab (when an object is selected) and find the Selection Pane option.
Step 2: Rename Objects for Clarity
When objects are added to a slide, PowerPoint assigns them generic names like “Rectangle 1” or “Picture 2.” These labels can cause confusion, especially if you’re juggling multiple elements. Use the Selection Pane to rename objects (e.g., “Header Text” or “Main Image”) by double-clicking on their names.
Step 3: Hide and Unhide Objects
Use the eye icons in the pane to quickly hide elements from view. This feature is handy for focusing on specific parts of your slide without deleting anything.
Step 4: Reorder Layers
Drag objects up or down in the list to adjust their layer position. For instance, bring your text block forward or send an image backward to ensure proper layering.
Advanced Tips and Tricks for the Selection Pane
Once you have the basics down, here are some advanced features to take your skills to the next level:
Tip 1: Group and Ungroup Objects
Select multiple items in the Selection Pane and group them together for easier handling. This works perfectly for maintaining alignment across slides.
Tip 2: Manage Animations with Ease
The Selection Pane integrates seamlessly with PowerPoint’s Animation Pane. Use it to ensure that your animations target the correct objects and are executed in the desired order.
Tip 3: Master Complex Slide Designs
Dealing with intricate designs? Leverage the Selection Pane to focus on one group of objects at a time, maintaining clarity while creating stunning visuals.
Contact Pitchworx today
for expert PowerPoint presentation design services that make an impact!
Real-World Examples of the Selection Pane in Action
Here’s how the Selection Pane can solve common design challenges:
- Case Study – Overlapping Content
Before: A slide with text boxes placed directly over a large image often resulted in accidental misclicks and difficulty selecting the text.
After: Using the Selection Pane, the text boxes were renamed, layered properly, and adjusted for seamless navigation.
- Case Study – Animation Sync Issues
Before: Animations applied to wrong objects due to unclear naming conventions.
After: Reorganizing objects in the Selection Pane resolved animation errors, leading to a flawless presentation.
Best Practices for Organizing Slides with the Selection Pane
To unlock the full potential of the Selection Pane, follow these expert tips:
- Adopt a Naming Convention
Label objects descriptively to avoid confusion later.
- Review Regularly
Periodically check and tidy up your slides to remove elements you no longer need.
- Simplify Your Design
Avoid cluttering your slides with excess objects. A clean design is impactful and easier to manage.
Common Mistakes to Avoid
Even experienced PowerPoint users can make these errors. Here’s how to sidestep them:
- Overlooking the Pane
Manually selecting objects on cluttered slides increases your chance of error. Trust the efficiency of the Selection Pane.
- Neglecting to Rename
Generic labels like “Line 1” lead to mismanagement. Rename every object as you go.
- Ignoring Layers
Incorrect layering can create visual chaos. Use the pane to reorder elements clearly.
Take Control of Your Slides Today
Investing time to master PowerPoint’s Selection Pane can significantly enhance your presentation workflow. From organizing objects to managing animations, this tool ensures your slides look as polished as your ideas.
If organizing complex slides still feels overwhelming, allow PitchWorx to help! Our expert team specializes in designing tailored PowerPoint presentations that captivate and communicate your vision. Visit PitchWorx.com to learn how we can transform your slides into masterpieces.
Elevate your presentation game today. Your audience—and your career—will thank you.